🛁 Installing a New Bathtub?
Get quotes from verified plumbers for bathtub installation. Free inspections available. Same-day service.
Get Bathtub Installation Quotes Near You
Servicing Gauteng, KwaZulu-Natal, Durban, Umhlanga, Ballito, Westville, and across South Africa
Bathtub Installation Guide: How to Install a New Bathtub (DIY & Pro Tips)
🛁 From soaking tubs to alcove baths—complete guide to installing a new bathtub, including plumbing, leveling, and waterproofing
A long, hot bath after a stressful day is one of life’s simple pleasures. But when your old bathtub is cracked, stained, or simply outdated, you need a replacement. The question is: can you install it yourself, or should you call a professional?
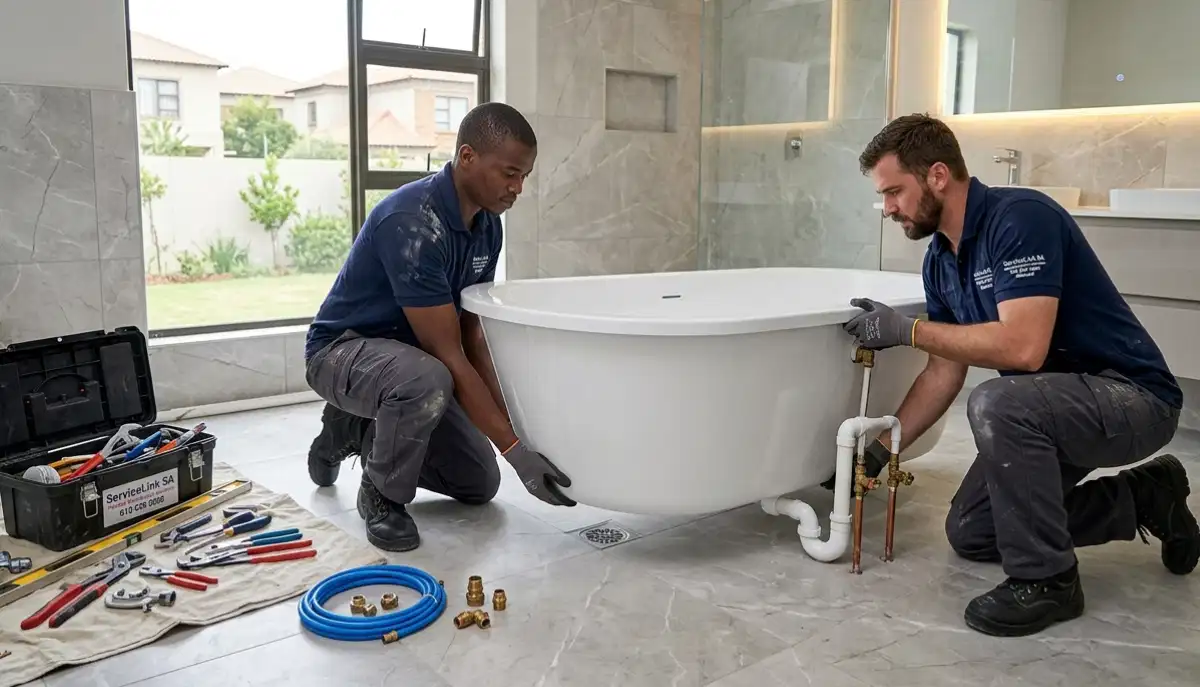
Bathtub installation is one of the more challenging DIY plumbing projects. Bathtubs are heavy (50-100kg), awkward to maneuver, and require precise leveling and drain connections. A mistake can lead to leaks, water damage, and a ruined ceiling below.
I’ve helped hundreds of homeowners across South Africa with bathtub installations. The difference between a successful DIY and a disaster often comes down to preparation, the right tools, and knowing your limits.
This comprehensive guide will teach you everything about how to install a bathtub—from choosing the right type to step-by-step installation, common mistakes, and when to call a professional. Whether you’re in Gauteng, KwaZulu-Natal, or Durban, this bath fitting guide has you covered.
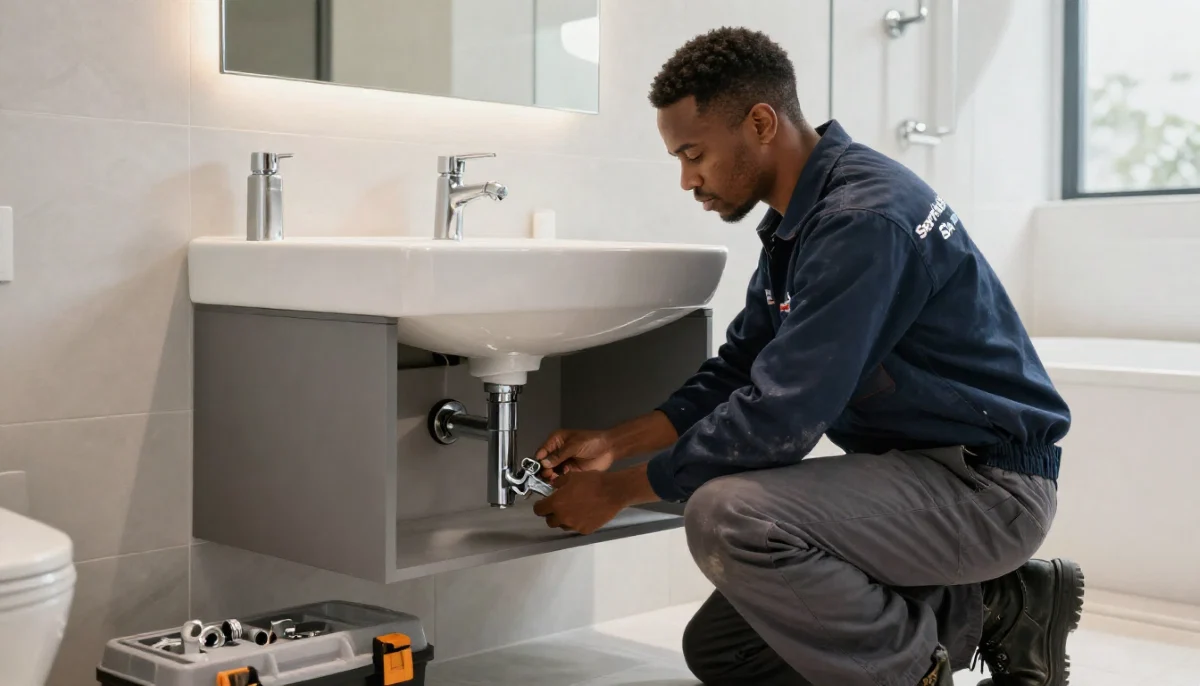
For related information, read our bathroom sink installation guide, shower installation cost guide, and bathroom renovation guide. Let’s get started.
📋 Table of Contents – Bathtub Installation Guide
🛁 Types of Bathtubs
Different bathtub types have different tub installation requirements:
- Alcove tub: Installed against three walls. Most common and DIY-friendly. Standard size 1500-1700mm. Requires access panel at one end.
- Drop-in tub: Drops into a deck or surround. Requires custom platform. More complex installation.
- Freestanding tub: Stands alone, visible from all sides. Elegant but requires floor-mounted faucet. Professional installation recommended.
- Corner tub: Fits into a corner. Often larger, may have jets. Complex plumbing required.
- Clawfoot tub: Vintage style on feet. Heavy, requires floor reinforcement.
For most homeowners, an alcove tub replacement is the most straightforward install bathtub project.
Read our bathroom plumbing guide for more on bathroom fixtures.
🛠️ Tools & Materials You’ll Need
🔧 Tools
- Adjustable wrenches (2x)
- Basin wrench
- Level (4ft/1200mm)
- Reciprocating saw (for removal)
- Screwdrivers
- Utility knife
- Caulking gun
- Buckets and towels
🧩 Materials
- New bathtub
- Drain assembly (often included)
- Plumber’s putty
- Silicone sealant (bathroom grade)
- Supply lines (flexible)
- Shims (for leveling)
- Mortar or spray foam (for support)
Important: Bathtubs are heavy (50-100kg). You WILL need a helper for lifting and positioning.
Read our plumbing tools guide for more equipment information.
🔧 Step 1: Remove the Old Bathtub
Before you can install bathtub components, remove the old one:
- Turn off water supply – Close isolation valves for the tub (usually under the house or in a access panel).
- Disconnect plumbing – Remove the drain and overflow assembly. Disconnect water supply lines.
- Remove the tub surround/tiles – Carefully remove tiles or surround panels around the tub.
- Cut the tub (if necessary) – For cast iron tubs, use a sledgehammer (wear safety gear!). For acrylic/steel, use a reciprocating saw to cut into manageable pieces.
- Remove the tub – Lift out in pieces or as a whole (get help—cast iron tubs weigh 150kg+).
- Clean the area – Remove old adhesive, sealant, and debris. Inspect subfloor for water damage.
⚠️ Safety Warning:
Cast iron tubs are extremely heavy (150-200kg). Do NOT try to lift a cast iron tub alone—serious injury risk. Cut it into pieces with a sledgehammer (wear safety glasses, gloves, and hearing protection).
If you find subfloor damage, read our water leak repair guide before proceeding.
🛁 Installing a New Bathtub?
Get quotes from verified plumbers for bathtub installation. Free inspections available. Same-day service.
Get Bathtub Installation Quotes
Free quotes • Same-day service • Verified specialists
📏 Step 2: Prepare the Area
Proper preparation ensures a successful bath fitting guide:
- Check the subfloor – Must be level, dry, and structurally sound. Repair any water damage.
- Install blocking (if needed) – Add 2×4 blocking between studs to support the tub’s rim.
- Position the drain – Ensure the waste pipe aligns with the new tub’s drain location.
- Test fit the new tub – Place the new tub in position to check fit. Mark stud locations for blocking.
- Remove tub and prepare – Apply mortar or spray foam to the subfloor where the tub will sit (provides support and prevents flexing).
Why mortar/foam is important: A bathtub that flexes under weight will crack the tile or grout and may develop leaks. Solid support is essential.
💧 Step 3: Install the Drain Assembly
Install the drain before final positioning—it’s much easier to access:
- Apply plumber’s putty around the underside of the drain flange
- Insert the drain flange into the tub drain hole
- From underneath, install the gasket and tightening nut
- Tighten securely (don’t overtighten—can crack the tub)
- Install the overflow assembly (the upper drain that prevents overfilling)
- Connect the drain pipe to the waste tee
Pro tip: Test the drain for leaks before final positioning. Fill the tub with a few inches of water and check underneath.
📏 Step 4: Position and Level the Tub
This is the most critical step in how to install a bathtub correctly:
- Apply silicone sealant to the wall studs (where the tub rim will contact)
- With a helper, carefully lower the tub into position
- Press the tub firmly into the sealant
- Check level in both directions (front-to-back and side-to-side)
- Use plastic shims under the tub feet to level as needed
- Fill the tub with water (this adds weight and ensures proper settling)
- Check level again—adjust shims if needed
- Secure the tub to the wall studs (some tubs have mounting flanges)
📋 Critical Tip:
Always fill the tub with water before final leveling. An empty tub may be level, but when filled with water (150kg+), it can settle differently. Leveling with water in the tub ensures accuracy.
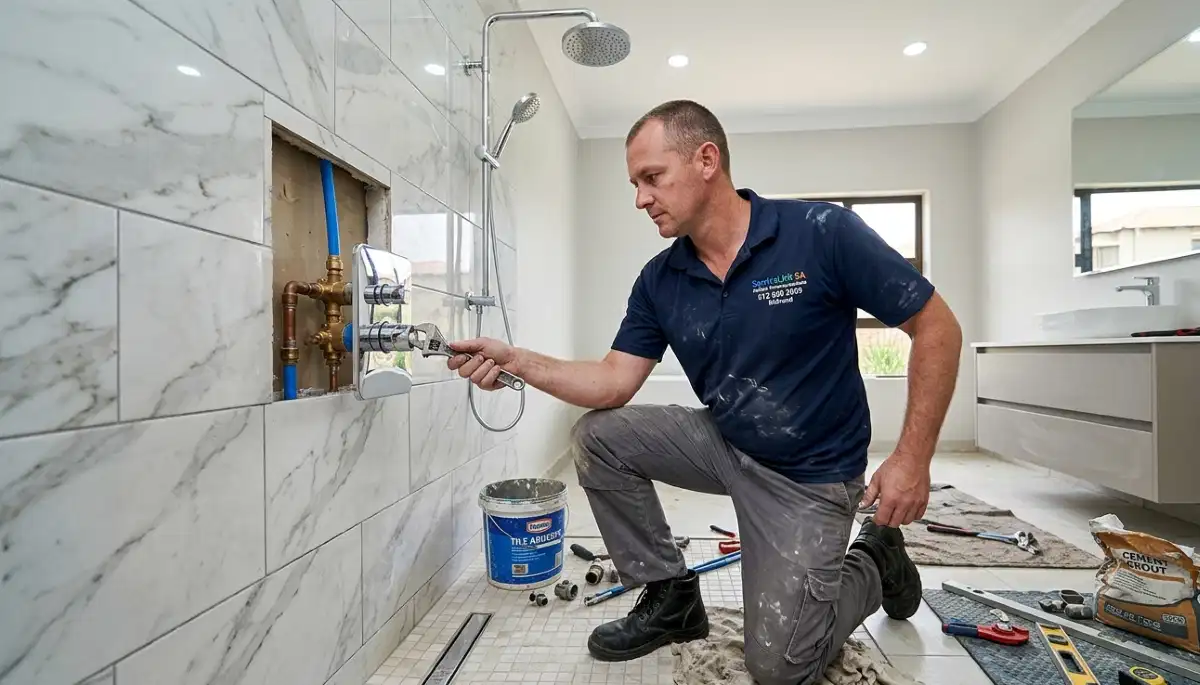
🔧 Step 5: Connect Water Supply & Drain
Now connect the final plumbing connections:
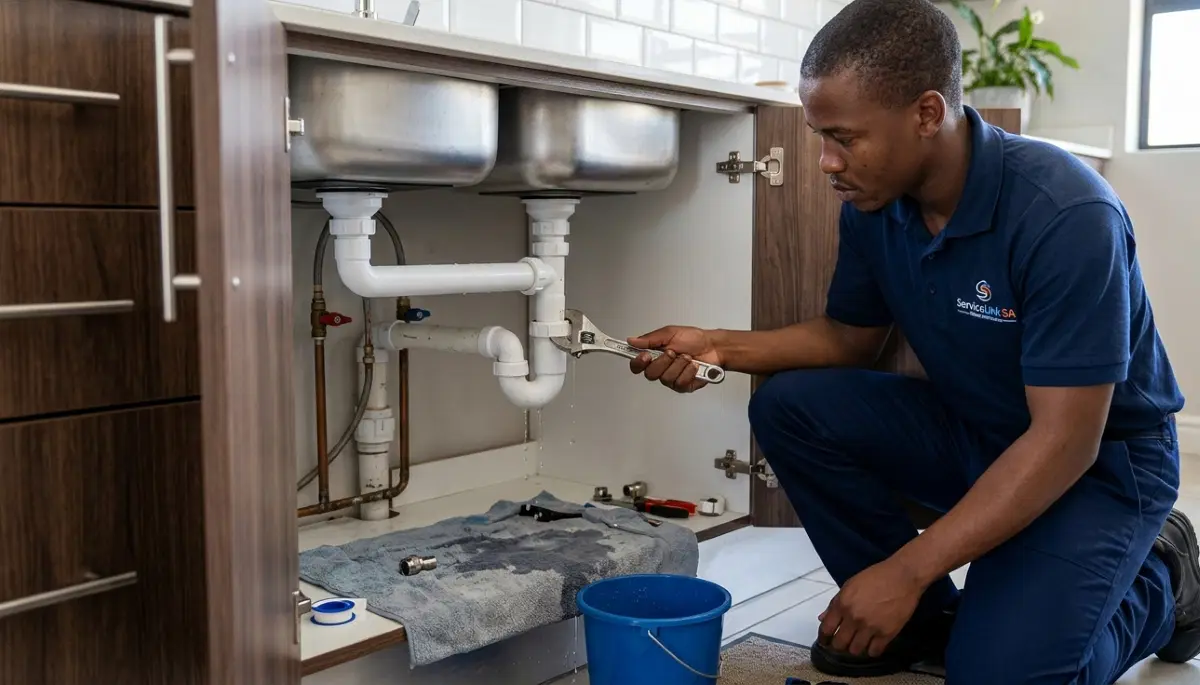
- Connect the drain: Attach the P-trap to the drain assembly. Tighten slip nuts hand-tight plus 1/4 turn.
- Connect water supply: Attach flexible supply lines to the tub faucet valves.
- Connect to house supply: Connect supply lines to isolation valves.
- Install the tub faucet/spout – Follow manufacturer instructions.
- Turn water on slowly – Check for leaks at all connections.
- Fill the tub and test drain – Check for leaks around drain and overflow.
Read our how to fix a leaking pipe guide for leak troubleshooting.
✅ Step 6: Seal and Finish
Final steps for your bathtub installation:
- Apply silicone sealant – Run a bead of bathroom-grade silicone along the tub-to-wall joint.
- Smooth the sealant – Use a wet finger or tool to create a smooth, watertight seal.
- Install the tub surround/tiles – Complete tiling or install the surround panels.
- Install access panel – If the tub has an access panel for plumbing, install it.
- Caulk the perimeter – Apply sealant around the tub base where it meets the floor.
- Wait for curing – Allow 24 hours for sealant to cure before using the tub.
Test again: After sealant cures, fill the tub and check for leaks one final time.
🛠️ DIY vs Professional Bathtub Installation
Is how to install a bathtub a DIY project? Here’s the reality:
✅ DIY MAY BE RIGHT IF:
- Replacing an alcove tub (same size, same drain location)
- You have plumbing experience
- You have a helper (tubs are heavy)
- You have the right tools
- You’re comfortable with leveling and sealing
❌ CALL A PROFESSIONAL FOR:
- Freestanding or clawfoot tubs
- Moving drain location
- Cast iron tub removal (very heavy)
- If you have no plumbing experience
- For warranty and COC requirements
Professional cost: R2,500-R6,000 for bathtub installation labour. In Durban or Umhlanga, rates may vary.
Read our how to choose a contractor guide for finding the right professional.
💰 Bathtub Installation Cost Guide
Here’s what to budget for bathtub installation:
| Item | Cost Range (ZAR) | Notes |
|---|---|---|
| Bathtub (basic alcove) | R2,000 – R5,000 | Acrylic or fibreglass |
| Bathtub (premium) | R5,000 – R15,000+ | Cast iron, freestanding, jetted |
| Professional Labour (replacement) | R2,500 – R4,500 | Same location, alcove tub |
| Professional Labour (new location) | R4,000 – R8,000+ | Requires drain relocation |
| Drain Assembly (if not included) | R200 – R600 | Waste and overflow |
| Faucet/Spout Set | R500 – R3,000+ | Basic to premium |
| Total Professional Installation | R5,500 – R12,000+ | Basic tub + labour |
| DIY Installation | R2,500 – R6,000 | Tub + materials only |
DIY saves: R2,500-R4,500 in labour costs—worth it if you’re confident.
❌ 5 Costly Mistakes to Avoid
Mistake #1: Not Leveling the Tub Properly
An unlevel tub causes water to pool in corners, leading to mould and mildew. It also stresses the drain connection. Always level with water in the tub.
Mistake #2: No Support Under the Tub
A tub that flexes under weight will crack tile and may develop leaks. Use mortar or spray foam under the tub base for solid support.
Mistake #3: Poor Drain Sealing
Not using plumber’s putty or overtightening can cause drain leaks. Use putty under the drain flange and tighten securely—but not too tight.
Mistake #4: Not Testing for Leaks Before Finishing
Fill the tub and check for leaks BEFORE tiling or installing surrounds. Fixing a leak after finishing requires destroying new work.
Mistake #5: Trying to Install a Cast Iron Tub Alone
Cast iron tubs weigh 150-200kg. Attempting to lift or move one alone risks serious injury. Get professional help or cut the tub into pieces.
📋 Real-World Bathtub Installation Case Studies
🛁 Case 1: Alcove Tub Replacement in Durban
Location: Durban | Homeowner: The Naidoo Family
Project: Replace old cracked acrylic tub with new alcove tub.
Approach: DIY using this guide. Cost: R3,200 for new tub + R400 materials = R3,600.
Outcome: Successful installation in 6 hours (over 2 days). No leaks. Saved R3,000 in labour.
Lesson: Alcove replacement is DIY-friendly with proper preparation and a helper.
🛁 Case 2: Freestanding Tub in Ballito
Location: Ballito | Homeowner: The Van der Merwe Family
Project: New freestanding tub in renovated bathroom. Floor-mounted faucet.
Approach: Professional plumber for tub and faucet installation (R4,500 labour).
Outcome: Perfect installation, no leaks. Professional ensured floor reinforcement and proper drain connection.
Lesson: Freestanding tubs are best left to professionals—complex plumbing and heavy weight.
❓ Frequently Asked Questions About Bathtub Installation
How to install a bathtub myself?
How to install a bathtub yourself: 1) Remove old tub, 2) Prepare subfloor and walls, 3) Install drain assembly, 4) Position and level new tub (fill with water for accuracy), 5) Connect drain and water supply, 6) Seal with silicone, 7) Test for leaks. Alcove tubs are most DIY-friendly. Get a helper—tubs are heavy.
How much does professional bathtub installation cost?
Professional bathtub installation labour costs R2,500-R4,500 for a standard alcove replacement. New installations (moving drain) cost R4,000-R8,000+. In Westville or Umhlanga, rates may be higher. Total with tub R5,500-R12,000+.
How long does bathtub installation take?
A standard alcove tub replacement takes 4-8 hours for a professional (1 day). DIY takes 6-12 hours over 2-3 days (allowing for sealant curing). Complex installations (freestanding, drain relocation) take 1-3 days.
Do I need a permit for bathtub installation?
A permit is generally NOT required for a like-for-like tub installation (same position, no drain relocation). However, if you’re moving the drain or adding new plumbing, a permit may be required. Check with your local municipality. A COC from a PIRB-registered plumber is required for any plumbing work.
What’s the best material for a bathtub?
Acrylic: affordable, warm to touch, easy to install (R2,000-R5,000). Fibreglass: cheapest but less durable. Cast iron: very durable, retains heat, but extremely heavy (150-200kg) and expensive (R8,000-R15,000+). Steel: durable, heavy, can be cold. For most homeowners, acrylic offers the best value.
How do I know if my subfloor needs repair before installing a tub?
Signs of subfloor damage: soft or spongy areas, visible water stains, mould, or rot. Test by pushing a screwdriver into the subfloor—if it penetrates easily, the wood is rotten. Repair before install bathtub. Rotted subfloor cannot support the weight of a filled tub (150kg+ of water plus the tub itself).
Can I install a freestanding bathtub myself?
Freestanding tub installation is NOT recommended for DIY. Challenges: very heavy (100-150kg), requires floor reinforcement, floor-mounted faucet plumbing is complex, drain location must be precise. Hire a professional plumber for freestanding tubs.
How do I find a reliable plumber for bathtub installation?
To find a reliable plumber for bathtub installation: 1) Verify PIRB registration, 2) Ask for bathtub installation experience, 3) Get detailed quotes, 4) Check reviews. ServiceLink SA connects you with verified plumbers in Gauteng and KwaZulu-Natal.
✅ Final Thoughts: Know Your Limits, Enjoy Your Bath
A new bathtub can transform your bathroom into a relaxing retreat. Bathtub installation is challenging but achievable for handy DIYers—especially alcove replacements. But knowing your limits is crucial. A failed installation can cause water damage costing far more than professional installation.
Key takeaways for South African homeowners:
- Alcove tub replacement is DIY-friendly – freestanding and cast iron are not
- DIY cost: R2,500-R6,000 (tub + materials) – Professional cost: R5,500-R12,000+
- Always level with water in the tub – critical for proper drainage
- Use mortar or foam under the tub – prevents flexing and tile cracks
- Test for leaks before finishing – fix leaks before tiling
- Get a helper – tubs are heavy (50-100kg+)
- Call a pro for freestanding, drain relocation, or cast iron
Your action plan: Assess your tub type and skill level. For a standard alcove replacement with the same drain location, DIY is achievable with a helper and this guide. For anything complex, get quotes from 3 verified plumbers through ServiceLink SA. Either way, enjoy your new bath.
🛁 Installing a New Bathtub?
Get quotes from verified plumbers for bathtub installation. Free inspections available. Same-day service.
📞 Call us: 073 138 4726 for immediate help finding a plumber near you.
Sink installation •
Shower cost guide •
Bathroom renovation •
Toilet cost guide •
Beat Your Quote guarantee
📚 Official resources & standards referenced:
- SANS 10400 – Bathtub installation standards and plumbing compliance.
- Plumbing Industry Registration Board (PIRB) – Find registered plumbers.
Information provided for general guidance based on industry research and SANS/PIRB standards. For complex bathtub installation projects, professional assistance is recommended.
Written by: ServiceLink SA Research Team
Bathroom Plumbing & Fixture Specialists
The ServiceLink SA Research Team comprises bathroom plumbing experts, fixture installation specialists, and DIY professionals with decades of experience helping homeowners with bathtub installation and tub installation projects across South Africa. Our team works directly with PIRB-registered plumbers, fixture manufacturers, and building standards authorities to bring you accurate, actionable information about how to install a bathtub safely and correctly. We continuously update this bath fitting guide to reflect current best practices and SANS standards.
For more information about bathtub installation and bathroom plumbing, explore our related resources:
bathroom sink installation guide,
shower installation cost guide,
bathtub installation guide,
bathroom renovation guide,
and toilet installation cost guide.
Our what is ServiceLink SA and
how ServiceLink SA works pages explain our verification process.
See our service areas page for bathtub installation coverage in your region.