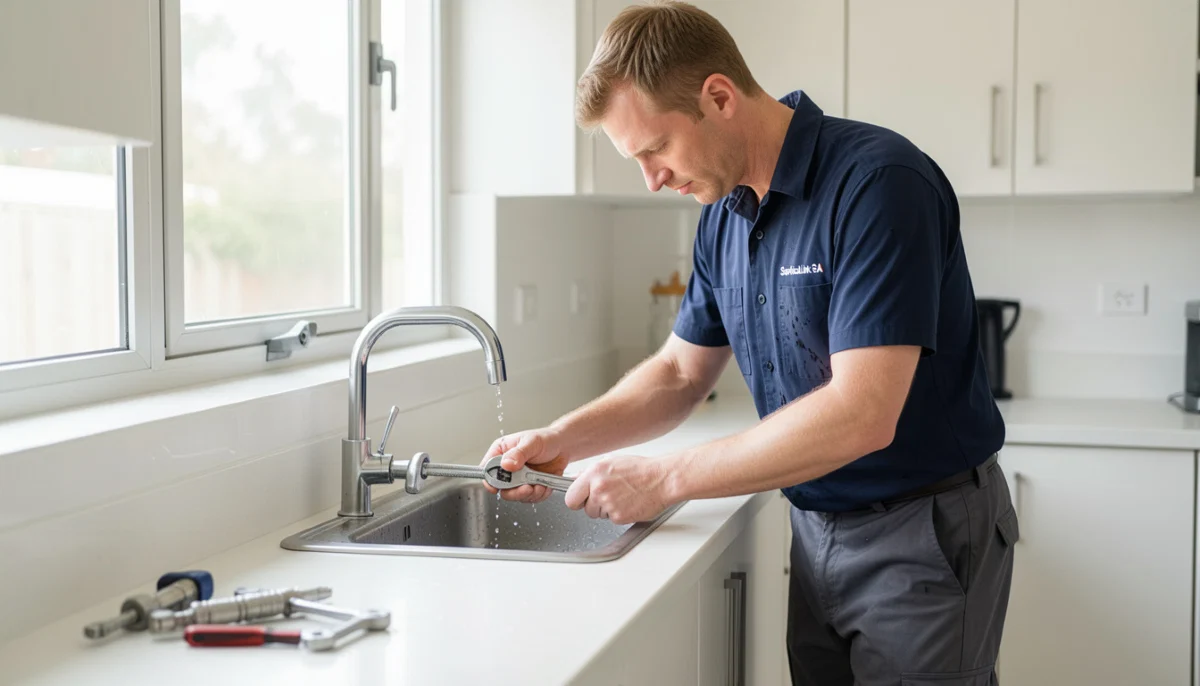
💧 Kitchen Sink Leaking?
Get quotes from verified plumbers if DIY doesn’t work. Same-day service available. Free inspections.
Get Leak Repair Quotes Near You
Servicing Gauteng, Johannesburg, Sandton, Midrand, Fourways, Bryanston, and across South Africa
Kitchen Sink Leak Repair: How to Fix Leaks Under Your Sink (Step-by-Step)
💧 From dripping connections to cracked pipes—complete guide to finding and fixing kitchen sink leaks yourself
You reach under the kitchen sink to grab a cleaning bottle, and your hand touches something wet. You pull out a soggy cardboard box. Water is dripping from somewhere—but where? Your heart sinks. A kitchen sink leak can mean water damage, mould, and ruined cabinet floors.
But here’s the good news: most kitchen sink leak repair jobs are simple and DIY-friendly. A loose connection that needs tightening. A worn washer that needs replacing. A supply line that’s cracked. Most fixes take 15-30 minutes and cost R50-R200 in parts.
I’ve repaired thousands of kitchen sink leaks over the years. The key is identifying where the leak is coming from—faucet, supply lines, or drain pipes—then applying the right fix. This guide will walk you through every step.
For related information, read our kitchen sink installation guide, how to fix a leaking pipe guide, and water leak repair services guide. Let’s stop that leak.
📋 Table of Contents – Kitchen Sink Leak Repair Guide
🔍 How to Identify the Leak Source
Before you can fix leaking sink issues, you need to find where the water is coming from:
- Clear out the cabinet – Remove everything from under the sink.
- Dry everything thoroughly – Use towels to dry all pipes, connections, and the cabinet floor.
- Place paper towels or dry cloths – Position them under potential leak points.
- Run water – Run the faucet, fill the sink, then drain it. Watch where water appears first.
- Check different scenarios – Check with faucet running, sink full (draining), and dishwasher running.
- Feel for moisture – Run your hand along pipes and connections (water may be warm if from hot supply).
Common leak locations:
- Faucet base (water on top of counter or dripping down)
- Water supply line connections
- Basket strainer (where sink meets drain)
- P-trap and drain pipe slip nuts
- Dishwasher drain hose connection
Read our leak detection services guide for help finding hidden leaks.
🚰 Leak #1: Faucet Base (Water on Countertop)
If water pools around the faucet base on your countertop or drips down the outside of the sink, the faucet base seal has failed.
Symptoms: Water on countertop around faucet, water dripping down outside of sink, damp cabinet floor near faucet area.
Common causes:
- Loose faucet mounting nut
- Failed O-ring or gasket at base
- Cracked faucet body (less common)
DIY fix:
- From under the sink, tighten the faucet mounting nut (use a basin wrench if space is tight).
- If tightening doesn’t work, remove the faucet and replace the base gasket or O-ring.
- Apply plumber’s putty under the new faucet base before reinstalling.
Time: 15-30 minutes. Cost: R50-R200 for new gasket/putty.
Read our leaking kitchen tap fix guide for more faucet repair details.
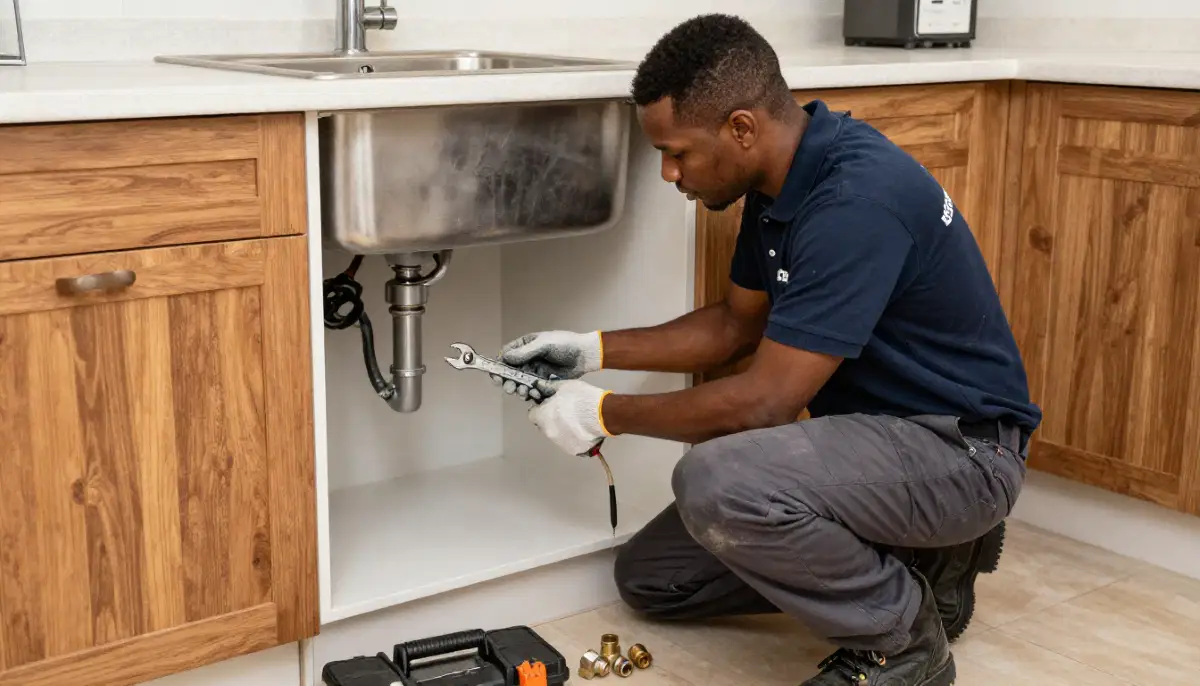
💧 Leak #2: Water Supply Lines
Leaks from the hot or cold water supply lines are common—and usually easy to fix.
Symptoms: Water dripping from flexible hoses or at connection points. May be hot or cold water depending on which line is leaking.
Common causes:
- Loose connection nuts
- Worn rubber washer inside connection
- Cracked or bulging supply line (replace immediately—risk of burst)
- Cross-threaded connection
DIY fix:
- Turn off water supply at isolation valves.
- Tighten the connection nut gently—1/4 turn with wrench (don’t overtighten).
- If still leaking, turn off water, disconnect, and inspect the rubber washer. Replace if worn (R5-R20).
- If the supply line is cracked or bulging, replace it (R50-R150).
- Turn water back on and test.
⚠️ Warning:
If your supply line is bulging or cracked, replace it immediately. A burst supply line can flood your kitchen in minutes—water damage costs far more than a R50-R150 replacement hose.
💧 Kitchen Sink Leaking?
Get quotes from verified plumbers if DIY doesn’t work. Same-day service available. Free inspections.
Free quotes • Same-day service • Verified specialists
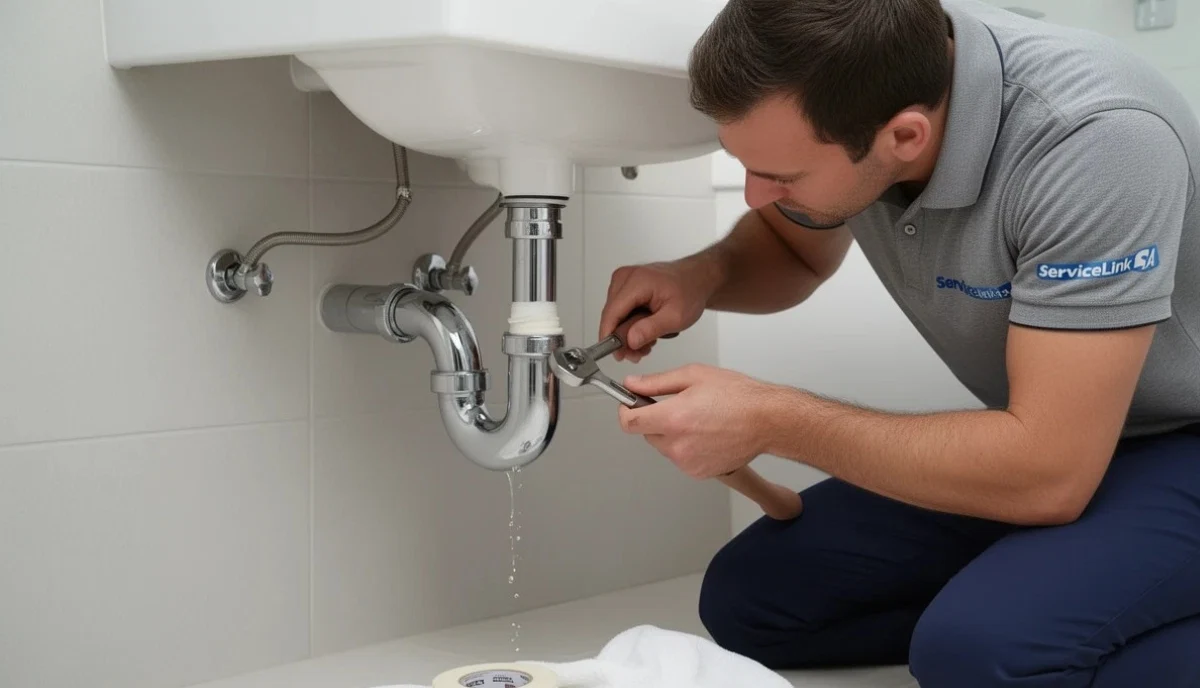
🥣 Leak #3: Basket Strainer (Sink Drain)
The basket strainer is the metal drain fitting inside the sink. Water leaking from here indicates a failed seal.
Symptoms: Water dripping from the underside of the sink drain, visible water around the basket strainer nut.
Common causes:
- Loose lock nut
- Failed plumber’s putty or silicone seal
- Cracked basket strainer
DIY fix:
- From under the sink, tighten the large lock nut (use channel locks or a basin wrench).
- If still leaking, the putty has failed. Remove the basket strainer, clean off old putty, apply fresh plumber’s putty, and reinstall.
- If the strainer is cracked, replace it (R100-R300).
Time: 30-60 minutes. Cost: R50-R300 depending on parts needed.
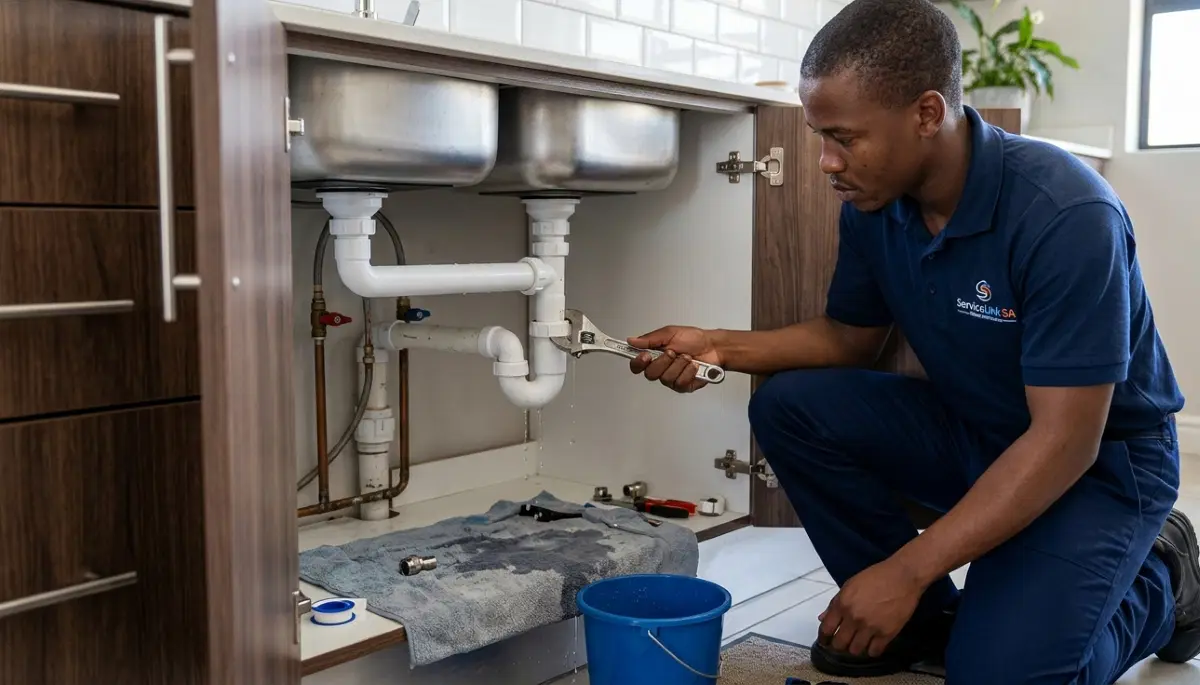
🔧 Leak #4: P-Trap or Drain Pipes
Leaks from the drain pipes (P-trap) are common and usually easy to fix. This is a classic pipe leak scenario.
Symptoms: Water dripping from slip nuts, wet pipes, water pooling under the P-trap.
Common causes:
- Loose slip nuts
- Worn or missing slip nut washers
- Cracked pipe (especially old PVC)
- Misaligned pipes causing poor seal
DIY fix:
- Place a bucket under the P-trap.
- Tighten slip nuts gently—hand-tight plus 1/4 turn (don’t overtighten plastic nuts—they crack).
- If still leaking, remove the slip nut, inspect the washer (replace if worn, R5-R20), and reinstall.
- If the pipe is cracked, replace the damaged section (R50-R200 for new pipe/fittings).
Time: 15-30 minutes. Cost: R5-R200.
Read our how to fix a leaking pipe guide for more pipe repair techniques.
🍽️ Leak #5: Dishwasher Connection
The dishwasher drain hose connects to your sink drain or garbage disposal. This connection can leak.
Symptoms: Water appears only when the dishwasher is running, not when using the sink.
Common causes:
- Loose hose clamp
- Cracked or damaged hose
- Clogged dishwasher wye (causing backflow)
DIY fix:
- Tighten the hose clamp with a screwdriver.
- If the hose is cracked, replace it (R100-R300).
- Check that the dishwasher wye isn’t clogged—clean if needed.
Read our dishwasher installation guide for more details.
🛠️ Tools & Materials You’ll Need
For most kitchen sink leak repair jobs, you’ll need:
🔧 Tools
- Adjustable wrench (2x)
- Basin wrench (for tight spaces under sink)
- Channel lock pliers
- Screwdrivers
- Bucket and towels
- Flashlight
🧩 Materials
- Plumber’s tape (Teflon)
- Plumber’s putty
- Replacement washers (various sizes)
- Supply lines (if damaged)
- Slip nut washers (R5-R20 each)
Read our plumbing tools guide for more equipment information.

📋 Step-by-Step Repair Guide for a Leaking Kitchen Sink
Here’s a general approach for how to repair a leaking kitchen sink:
- Identify the leak source – Use the drying method in Section 1.
- Turn off water supply – Close isolation valves under the sink.
- Place a bucket – Position it under the leak area to catch drips.
- Disassemble if needed – Loosen the leaking connection.
- Inspect parts – Check washers, O-rings, and threads for damage.
- Replace damaged parts – New washers are cheap—replace them.
- Clean threads – Remove old tape or debris.
- Apply fresh tape or sealant – Use plumber’s tape on threaded connections.
- Reassemble and tighten – Hand-tight plus 1/4 turn (don’t overtighten).
- Turn water on and test – Run water, check for leaks, dry the area, and check again after 10 minutes.
💡 The Golden Rule:
After any repair, test for leaks three times: immediately after the repair, after 10 minutes of use, and the next day. Small leaks can take time to appear.
📞 When to Call a Professional
While most kitchen sink leak repair jobs are DIY-friendly, call a pro if:
- You’ve tightened connections and replaced washers, but the leak persists
- The leak is coming from inside the wall (not under the sink)
- You find extensive water damage or mould
- The pipe is cracked and needs soldering (copper pipes)
- You’re uncomfortable with any step
- The leak returns after multiple repair attempts
Professional cost: R750-R1,500 for standard leak repair. In Sandton or Fourways, rates may be higher.
For emergency service, use our 24/7 emergency plumbing services.
🛡️ Preventing Future Kitchen Sink Leaks
Prevent sink leak under sink issues with these habits:
- Check under the sink monthly – Run your hand along pipes, look for moisture.
- Don’t overtighten connections – Hand-tight plus 1/4 turn is enough.
- Replace supply lines every 5-10 years – Rubber hoses degrade over time.
- Use plumber’s tape on threaded connections – Prevents leaks at threads.
- Avoid hanging heavy items on pipes – Stress can loosen connections.
- Don’t pour grease down the drain – Solidifies and can crack pipes.
Read our home plumbing maintenance checklist for a complete schedule.
❌ 5 Costly Mistakes to Avoid
Mistake #1: Overtightening Connections
Plastic slip nuts crack easily. Metal nuts can strip threads. Hand-tight plus 1/4 turn is enough. Stop if you hear cracking.
Mistake #2: Ignoring a Small Leak
“It’s just a drip” will rot your cabinet floor, cause mould, and eventually become a bigger leak. Fix small leaks immediately.
Mistake #3: Not Using Plumber’s Tape
Threaded connections without tape will leak. Always wrap Teflon tape 2-3 wraps clockwise.
Mistake #4: Reusing Old Washers
Washers cost R5-R20. Reusing a compressed or cracked washer guarantees the leak returns. Always replace washers when you disassemble a connection.
Mistake #5: Not Drying Before Testing
Testing for leaks on wet pipes makes it impossible to see where new water is coming from. Dry everything thoroughly before testing.
📋 Real-World Kitchen Sink Leak Case Studies
💧 Case 1: Loose Supply Line in Johannesburg
Location: Johannesburg | Homeowner: The Ndlovu Family
Problem: Small drip from hot water supply line connection. Cabinet floor wet.
Solution: Tightened connection nut 1/4 turn—leak stopped.
Outcome: Free fix, 5 minutes. Saved R750 plumber call-out.
Lesson: A loose nut is the most common cause—always try tightening first.
🔧 Case 2: Worn P-Trap Washer in Midrand
Location: Midrand | Homeowner: The Van Wyk Family
Problem: Water pooling under P-trap after each dishwashing session.
Solution: Disassembled P-trap, replaced worn slip nut washers (R20), reassembled.
Outcome: Leak stopped. Total cost R20, time 20 minutes.
Lesson: Washers are cheap—replace them whenever you disassemble a connection.
❓ Frequently Asked Questions About Kitchen Sink Leaks
How to repair a leaking kitchen sink myself?
How to repair a leaking kitchen sink yourself: 1) Identify the leak source (dry everything, then run water), 2) For loose connections, tighten gently, 3) For leaking supply lines, tighten or replace washers, 4) For leaking P-trap, tighten slip nuts or replace washers, 5) For leaking basket strainer, tighten lock nut or replace putty. Most fixes take 15-30 minutes.
Why is my kitchen sink leaking from underneath?
A sink leak under sink is usually caused by: loose supply line connections (most common), worn P-trap washers, loose basket strainer nut, cracked pipe, or leaking dishwasher connection. Dry everything, run water, and watch where water appears first to identify the source.
How much does professional kitchen sink leak repair cost?
Professional kitchen sink leak repair costs R750-R1,500 including call-out fee (R450-R650) plus labour. In Sandton or Bryanston, rates may be higher. Most simple leaks (loose connection, worn washer) are DIY-fixable for R5-R50.
Can I use plumber’s tape on a leaking pipe?
Yes—plumber’s tape (Teflon tape) is used on threaded connections to prevent leaks. Wrap 2-3 layers clockwise around the male threads before connecting. However, tape won’t fix a cracked pipe or failed washer—identify the cause first.
How do I stop a leak under my kitchen sink temporarily?
To temporarily stop a fix leaking sink while you wait for parts or a plumber: 1) Place a bucket under the leak, 2) Wrap a cloth or rubber tape around the leak, 3) Use pipe repair tape (silicone tape) for small leaks, 4) Turn off water supply if the leak is severe. These are temporary only—schedule a proper repair within days.
What causes a kitchen sink drain to leak?
Kitchen sink drain leaks are usually caused by: loose slip nuts (tighten them), worn slip nut washers (replace them, R5-R20), cracked P-trap (replace damaged section), or a loose basket strainer (tighten lock nut or replace putty). Most drain leaks are DIY-fixable.
How do I know if my kitchen sink leak is serious?
A pipe leak is serious if: water is spraying (not dripping), the leak is inside the wall, you see mould or water damage, the leak returns after multiple repair attempts, or the pipe is visibly cracked or bulging. For spraying leaks or wall leaks, call a plumber immediately.
How do I find a reliable plumber for kitchen sink leak repair?
To find a reliable plumber for kitchen sink leak repair: 1) Verify PIRB registration, 2) Ask for leak repair experience, 3) Get detailed quotes, 4) Check reviews. ServiceLink SA connects you with verified plumbers in Gauteng.
✅ Final Thoughts: Small Leaks, Big Savings
A dripping kitchen sink might seem minor, but it wastes water, damages your cabinet, and can lead to mould. The good news? Most kitchen sink leak repair jobs are simple and cheap—a loose nut needing tightening or a R5-R20 washer needing replacement.
Key takeaways for South African homeowners:
- Identify the source first – Dry everything, then run water to see where it drips
- Most leaks are loose connections – Try tightening gently first
- Washers are cheap (R5-R20) – Replace them whenever you disassemble a connection
- Don’t overtighten – Hand-tight plus 1/4 turn is enough
- Never ignore a small leak – It will get worse and cause damage
- DIY saves R750-R1,500 – Most simple leaks are fixable in minutes
- Call a pro for wall leaks, cracked pipes, or persistent leaks
Your action plan: Clear out under your sink. Dry everything. Run water and watch. Identify the source. Tighten first. If that doesn’t work, replace washers. If the leak persists or is in the wall, call a professional through ServiceLink SA.
💧 Kitchen Sink Leaking?
Get quotes from verified plumbers if DIY doesn’t work. Same-day service available. Free inspections.
📞 Call us: 073 138 4726 for immediate help finding a plumber near you.
Kitchen sink installation •
Fix leaking pipe •
Leaking tap fix •
Water leak repair •
Beat Your Quote guarantee
📚 Official resources & standards referenced:
- SANS 10400 – Leak repair standards and plumbing compliance.
- Plumbing Industry Registration Board (PIRB) – Find registered plumbers.
Information provided for general guidance based on industry research and SANS/PIRB standards. For persistent kitchen sink leak repair issues, professional assistance is recommended.
Written by: ServiceLink SA Research Team
Kitchen Plumbing & Leak Repair Specialists
The ServiceLink SA Research Team comprises kitchen plumbing experts, leak repair specialists, and DIY professionals with decades of experience helping homeowners with kitchen sink leak repair and fix leaking sink projects across South Africa. Our team works directly with PIRB-registered plumbers, fixture manufacturers, and building standards authorities to bring you accurate, actionable information about how to repair a leaking kitchen sink safely and effectively. We continuously update this guide to reflect current best practices and SANS standards for pipe leak diagnosis and repair.
For more information about kitchen sink leaks and plumbing repairs, explore our related resources:
kitchen sink installation guide,
how to fix a leaking pipe guide,
leaking kitchen tap fix guide,
water leak repair services guide,
and kitchen sink leak repair guide.
Our how ServiceLink SA works and
contractor verification process pages explain how we connect you with trusted professionals.
See our service areas page for leak repair coverage in your region.