
🍳 Ready to Upgrade Your Kitchen?
Get free quotes from verified tiling specialists for your kitchen backsplash project. Compare prices and find the right pro for the job.
Get Free Quotes from Local Tilers
Servicing Cape Town, Stellenbosch, Paarl, and across the Western Cape
Kitchen Backsplash Tiling Installation Guide: DIY & Pro Tips SA
🧱 Everything you need to know about installing a kitchen backsplash – from planning to perfect grout lines
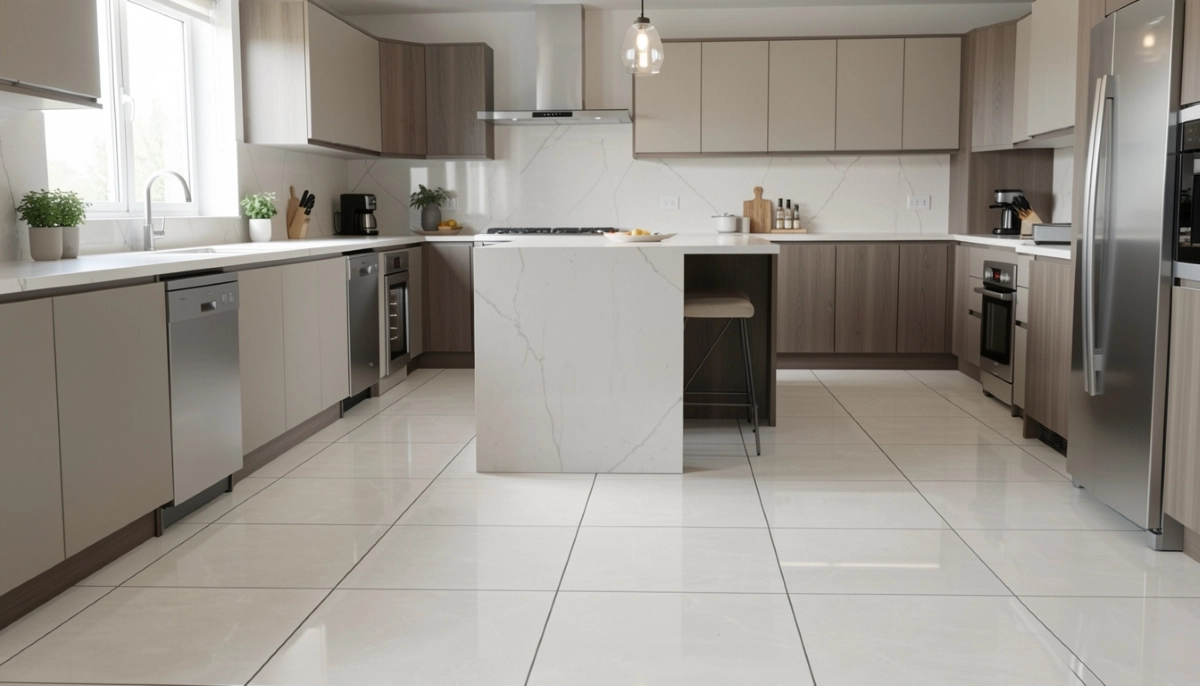
You know that feeling when you’re cooking, and a splash of tomato sauce hits the wall behind the stove? Or when you’re washing dishes, and water drips down onto the paint? That’s not just annoying – it’s slowly damaging your kitchen walls.
I’ve been in countless kitchens across the Western Cape, from Cape Town to Stellenbosch and Paarl, and the one thing that instantly transforms a kitchen is a well-installed tile backsplash. It protects your walls, makes cleaning effortless, and adds serious style points. But here’s the question every homeowner asks: should I do it myself or hire a professional?
This complete guide to kitchen backsplash tiling installation will walk you through everything – costs, materials, step-by-step instructions for DIYers, and when to call in the pros. By the end, you’ll know exactly which path is right for your kitchen and your budget.
For more kitchen tiling advice, check out our guide on the best tiles for kitchens and bathrooms and get an overview of tiling installation costs.
📋 Table of Contents – Kitchen Backsplash Guide
🧼 Why Your Kitchen Needs a Tile Backsplash
A kitchen backsplash isn’t just decorative – it’s functional. Here’s why every kitchen benefits from a proper backsplash tile installation:
- Protects your walls: Splatters, steam, and grease are no match for sealed tile. Unlike painted drywall, tiles wipe clean in seconds.
- Prevents moisture damage: Kitchens generate humidity. Tile creates a waterproof barrier that prevents mould and peeling paint behind sinks and stoves.
- Adds serious home value: A stylish tile backsplash is one of the top features homebuyers notice. It’s a relatively small investment that pays off at resale.
- Makes cleaning effortless: Spilled spaghetti sauce? No problem. Wipe it off with a damp cloth. No staining, no scrubbing.
- Defines your kitchen’s style: The backsplash is the jewelry of your kitchen – it ties cabinets, countertops, and flooring together.
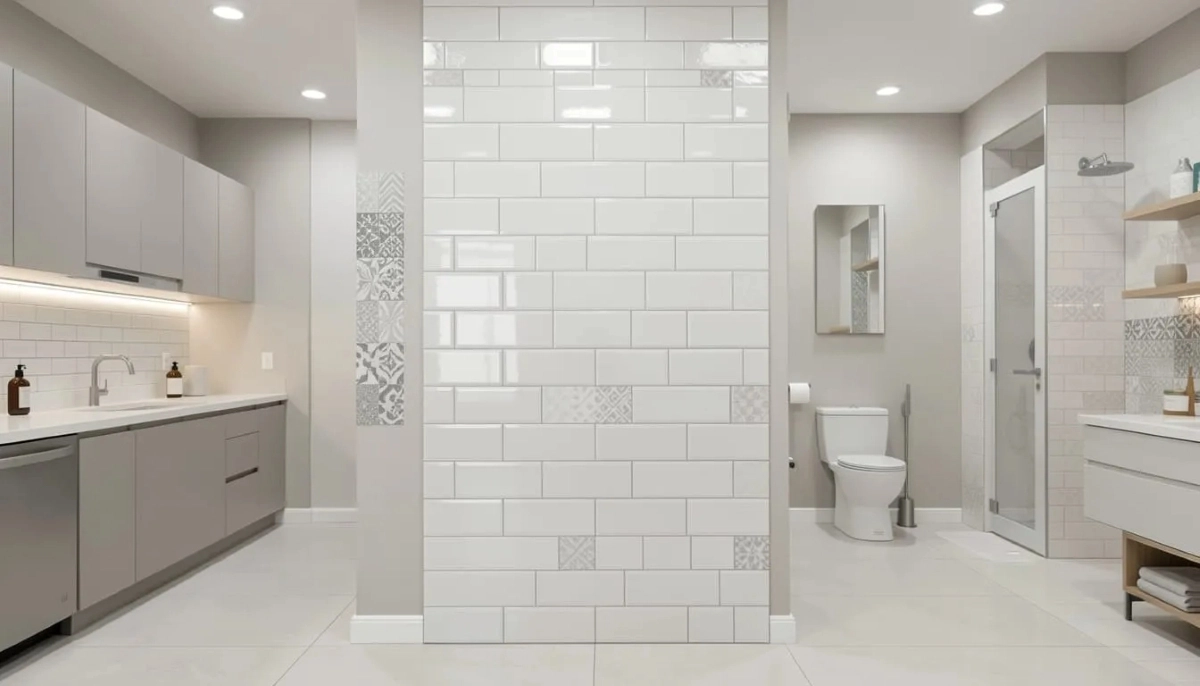
Whether you choose classic white subway tile, bold patterned cement tiles, or sleek glass mosaics, a well-executed kitchen backsplash tiling installation transforms your cooking space from ordinary to extraordinary.
💰 Kitchen Splashback Cost – Complete Breakdown
Let’s talk money. Understanding the kitchen splashback cost is essential before you start any project. Costs vary based on tile type, backsplash size, and whether you DIY or hire a pro.
| Cost Component | DIY Cost Range | Professional Cost Range |
|---|---|---|
| Tiles (per m²) – Ceramic | R120 – R250 | R120 – R250 |
| Tiles (per m²) – Glass Mosaic | R400 – R800 | R400 – R800 |
| Tiles (per m²) – Subway Ceramic | R150 – R300 | R150 – R300 |
| Adhesive & Grout | R300 – R600 | R300 – R600 |
| Tools (trowel, cutter, spacers, etc.) | R500 – R1,500 | Included in labour |
| Labour (per m²) | R0 (your time) | R150 – R300 |
| Average Total (2m² backsplash) | R1,200 – R3,500 | R2,500 – R5,000 |
Typical backsplash size: Most kitchen backsplashes are 450mm to 600mm high and run along 3-6 meters of counter space. That’s roughly 1.5 to 3.5 square meters of tiling.
For a complete picture of tiling expenses, read our comprehensive tiling installation cost guide.
🎨 Best Tiles for Kitchen Backsplash – Material Comparison
Choosing the right tile is critical. Here’s how popular options compare for kitchen wall tiles:
| Tile Type | Cost/m² | Pros | Cons | Best For |
|---|---|---|---|---|
| Ceramic | R120 – R250 | Affordable, easy to cut, many colours | Can chip, less durable than porcelain | Budget-friendly kitchens, rental properties |
| Porcelain | R250 – R600 | Very durable, water-resistant, hard-wearing | Harder to cut, higher cost | Busy family kitchens, behind stoves |
| Glass Mosaic | R400 – R1,000 | Stunning look, reflects light, easy to clean | Expensive, shows grout lines, tricky to cut | Accent areas, modern kitchens |
| Subway Tile | R150 – R300 | Timeless classic, easy to install, affordable | Very common (not unique) | Any kitchen style, DIY projects |
| Natural Stone | R500 – R1,500 | Unique, luxurious, adds serious value | Requires sealing, porous, expensive | High-end luxury kitchens |
For more detail on specific tile types, explore our guides on subway tile installation and glass tiles for kitchens and bathrooms.
🛠️ DIY vs Professional Kitchen Backsplash Installation
The million-rand question: should you install your kitchen backsplash yourself or hire a pro? Here’s an honest breakdown.
✅ Quick Verdict:
DIY is great for: Simple subway tile layouts, straight walls, small areas, and if you’re handy with tools.
Hire a pro for: Glass mosaics, natural stone, complex patterns (herringbone), large areas, or if you want perfection guaranteed.
DIY Pros:
- Save on labour costs (R1,500 – R4,000 saved)
- Satisfaction of doing it yourself
- Work at your own pace
DIY Cons:
- Requires buying or renting tools (cutter, trowel, spacers, etc.)
- Steep learning curve – your first cuts might be wasted tiles
- No warranty if something fails
- Can take 2-3 weekends vs a pro finishing in 1-2 days
Professional Pros:
- Flawless finish guaranteed
- Fast turnaround (usually 1-2 days)
- Proper tools and techniques
- Workmanship warranty – peace of mind
- They handle tricky cuts (around outlets, corners, windows)
Professional Cons:
- Higher upfront cost (R2,500 – R5,000 for average backsplash)
- Need to coordinate schedules
If you decide to hire a pro, ServiceLink SA can connect you with verified tiling specialists in your area. Get free quotes from local tilers and compare prices before deciding.
Not Sure If DIY Is Right for You?
Get free, no-obligation quotes from professional tilers. See what the pros would charge – then decide if DIY savings are worth it.
Compare Professional Quotes Now
Free to use. No obligation. Get quotes from tilers across the Western Cape.
📝 How to Install Kitchen Backsplash Tiles – DIY Step-by-Step Guide
Ready to tackle this yourself? Here’s your complete guide to how to install kitchen backsplash tiles like a pro.
Tools You’ll Need:
- Tile cutter (manual or wet saw for harder tiles)
- Notched trowel (size depends on tile size)
- Tile spacers (2-3mm for backsplash)
- Rubber grout float
- Sponge and bucket
- Level and measuring tape
- Pencil and straight edge
- Grout and tile adhesive
- Safety glasses and gloves
Step 1: Prepare Your Wall
Clean the wall thoroughly. Remove any loose paint, grease, or residue. The surface must be clean, dry, and flat. Sand down any bumps and fill any holes. For more on surface preparation, read our floor leveling guide – the principles apply to walls too.
Step 2: Plan Your Layout
Measure your backsplash area. Find the center point of your wall. Dry-lay a row of tiles along the counter to see how cuts will fall at the ends. Avoid tiny sliver cuts at corners – adjust your starting point to make cuts at least half a tile wide.
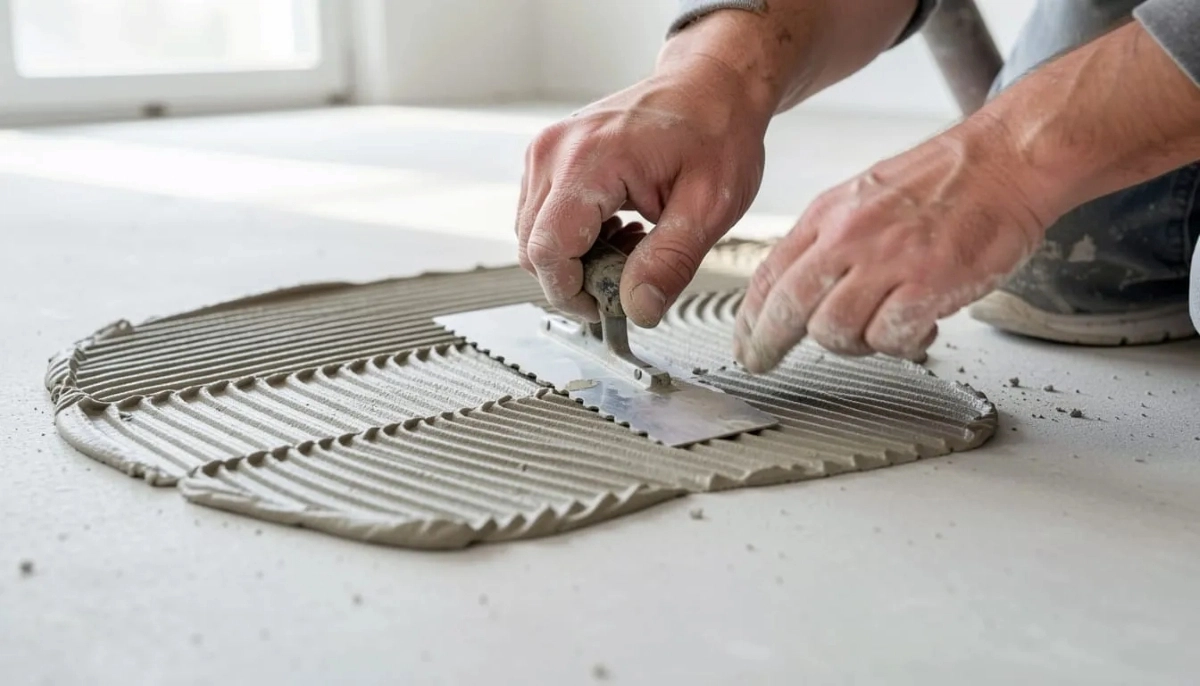
Step 3: Apply Adhesive
Using your notched trowel, spread adhesive onto a small section of wall (about 2-3 tiles wide). Hold the trowel at a 45-degree angle to create uniform ridges. Don’t cover more than you can tile in 15-20 minutes – adhesive skins over quickly.
Step 4: Install Tiles
Press each tile into the adhesive with a slight twisting motion. Insert spacers between tiles for even gaps. Check frequently with your level – nothing ruins a backsplash like crooked tiles. Work in small sections.
Step 5: Make Cutouts
For electrical outlets, measure carefully and mark your tile. Use a tile cutter for straight cuts and a hole saw or nippers for outlet shapes. Cut slowly and test-fit before applying adhesive. Read our tile adhesives explained guide for more on choosing the right bonding material.
Step 6: Let Adhesive Cure
Wait at least 24 hours before grouting. The adhesive needs time to fully set.
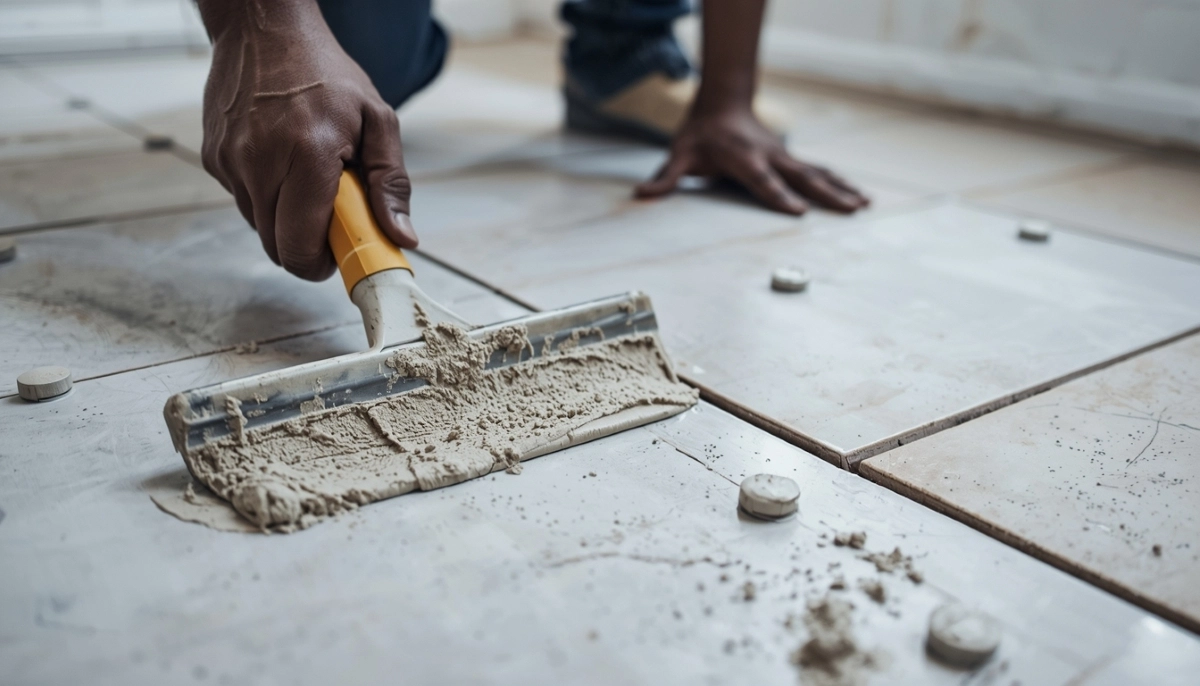
Step 7: Apply Grout
Mix grout according to package instructions. Using a rubber float, push grout diagonally across the tiles, forcing it into all gaps. Wipe off excess with a damp sponge – but don’t remove grout from the joints. Let it set for 15-30 minutes, then do a final clean with a damp sponge.
Step 8: Final Seal (if needed)
Natural stone and some porous tiles require sealing. Wait 72 hours after grouting, then apply a penetrating sealer. Follow our tile cleaning methods guide for ongoing maintenance.
⭐ Professional Tips for a Flawless Backsplash Finish
These insider tips separate amateur jobs from professional results:
- Mark your outlet locations on tiles before cutting: Use a marker to trace the exact shape. Cut slightly inside the line – you can always trim more.
- Use a laser level for perfect alignment: A laser level projects a straight line across your entire wall. Worth the investment for DIYers.
- Back-butter large or glass tiles: Apply a thin layer of adhesive to the back of the tile AND the wall for 100% coverage. This prevents hollow spots.
- Mix grout in small batches: Grout hardens fast. Mix only what you can use in 20 minutes.
- Seal grout lines after curing: Grout sealer prevents staining from tomato sauce, coffee, and wine. Don’t skip this step.
- Work from the bottom up: Start your first row level and use spacers to keep everything straight. A wonky first row ruins the whole project.
🚫 Common DIY Mistakes to Avoid
⚠️ Warning: These Mistakes Will Ruin Your Backsplash
Avoid these common errors to ensure your DIY backsplash looks professional.
- Not preparing the wall properly: Greasy, dusty, or uneven walls prevent adhesive from bonding. Clean thoroughly and fill any holes.
- Using the wrong trowel size: A trowel with notches too small won’t provide enough adhesive coverage. Too large and adhesive squeezes out everywhere. Match notch size to tile size.
- Skipping the level check: Your counter might not be perfectly level. Don’t use it as your guide. Use a laser or spirit level for your first row.
- Not sealing natural stone or grout: Unsealed stone absorbs stains permanently. Unsealed grout turns grey and traps dirt.
- Rushing the grout cleanup: Waiting too long makes grout hard to remove. Cleaning too early pulls grout out of joints. Follow package timing exactly.
- Forgetting outlet cutouts before tiling: Nothing is worse than realizing you can’t reach an outlet because the tile is already set. Measure and cut before applying adhesive.
🧽 Cleaning & Maintaining Your Tile Backsplash
Once your backsplash tile installation is complete, proper maintenance keeps it looking new for years.
Daily Cleaning:
Wipe down after cooking with a damp cloth and mild dish soap. Don’t let sauces or oils dry on the tile.
Weekly Deep Clean:
Use a pH-neutral tile cleaner or a vinegar-water solution (1:4 ratio). Avoid bleach or abrasive cleaners – they damage grout and tile surfaces.
Grout Stain Prevention:
Re-seal grout lines every 1-2 years, especially behind the stove where grease splatters. Apply grout sealer with a small brush and wipe excess from tile surfaces.
What to Avoid:
- Steam cleaners – heat can loosen adhesive
- Bleach-based products – discolours grout
- Abrasive scrubbers – scratch tile surfaces
- Leaving acidic spills (lemon juice, vinegar) on natural stone
For more cleaning advice, read our comprehensive tile cleaning methods guide.
❓ Questions to Ask Before Hiring a Professional Tiler
If you’re going the professional route, ask these questions to ensure quality kitchen backsplash tiling installation:
- “Can I see photos of kitchen backsplashes you’ve installed?” (Look for clean cuts around outlets and even grout lines.)
- “Is your quote all-inclusive – tiles, adhesive, grout, and labour?” (Avoid surprises.)
- “How do you handle cuts around outlets and corners?” (They should describe precise measuring and cutting techniques.)
- “What warranty do you offer on your workmanship?” (A minimum 1-year warranty is standard. See our guarantees.)
- “How long will the installation take?” (Most backsplashes take 1-2 days including drying time.)
- “Do you seal natural stone and grout?” (This should be included.)
For more hiring guidance, read our how to choose the right contractor guide and learn about our Beat Your Quote guarantee.
❓ Frequently Asked Questions About Kitchen Backsplash Tiling
How much does a kitchen backsplash cost in South Africa?
The kitchen splashback cost ranges from R1,200 – R3,500 for a DIY 2m² project using ceramic tiles, or R2,500 – R5,000 for professional installation. Glass mosaics or natural stone cost significantly more – up to R8,000 – R12,000 for a pro installation. Get free quotes from local tilers through ServiceLink SA to compare prices.
Can I install a kitchen backsplash over existing tiles?
Yes, but only if existing tiles are firmly bonded, flat, and clean. You must rough up the surface with sandpaper to help new adhesive stick. However, removing old tiles is recommended for the best bond. For more on this, read our tile adhesives guide.
What’s the easiest tile for a beginner DIY backsplash?
Ceramic subway tiles are the most beginner-friendly. They’re affordable, easy to cut with a manual tile cutter, and spacers make alignment simple. Avoid glass mosaics or natural stone for your first DIY project – they’re much harder to cut and install perfectly.
How long does it take to install a kitchen backsplash?
A professional tiler typically completes a standard kitchen backsplash in 1-2 days (including adhesive curing and grouting). A DIY beginner should allow a full weekend for tiling plus another day for grouting. Complex patterns or glass tiles take longer.
Do I need to waterproof behind a kitchen backsplash?
Unlike bathrooms, kitchens don’t require full waterproofing behind backsplashes. However, the area directly behind the sink benefits from waterproof backer board or a waterproof membrane if you have frequent splashing. Standard drywall is usually sufficient for other areas.
What’s the standard height for a kitchen backsplash?
The standard backsplash height is 450mm to 600mm (18-24 inches) above the counter. Some homeowners extend to the bottom of upper cabinets (about 450mm) or go all the way to the ceiling for a dramatic look. Full-height backsplashes cost more but look stunning.
Should I tile behind my stove and fridge?
Yes, absolutely tile behind the stove – this area sees the most grease and heat splatters. Behind the fridge is optional since the fridge covers the wall, but tiling there makes future reconfiguration easier if you move appliances.
What’s the difference between backsplash tile and floor tile?
Wall tiles (backsplash) are generally thinner, lighter, and less durable than floor tiles. They don’t need high slip resistance or extreme durability. Floor tiles can be used on walls, but wall tiles should never be used on floors – they’re not strong enough. Read wall tiling vs floor tiling for more.
✅ Final Thoughts: Transform Your Kitchen with a Beautiful Backsplash
A tile backsplash is one of the most rewarding home improvements you can make. It’s visible every day, protects your walls, adds home value, and lets you express your personal style. Whether you choose the DIY route or hire a professional, proper planning and quality materials make all the difference.
Key takeaways for kitchen backsplash success:
- Ceramic subway tiles are best for beginners and budgets
- Professional installation costs R2,500 – R5,000 for an average backsplash
- DIY saves on labour but requires patience and proper tools
- Always prepare your wall thoroughly before tiling
- Seal natural stone and grout to prevent stains
- Use verified professionals through ServiceLink SA for guaranteed quality
Your next step: Ready to transform your kitchen? Get free quotes from verified tiling specialists, compare prices, and hire with confidence using ServiceLink SA’s guarantee.
Ready to Install Your Dream Kitchen Backsplash?
Get free quotes from verified local tilers. Compare prices, read reviews, and choose the right pro for your project.
📞 Call us: 073 138 4726 to speak with a project coordinator about your kitchen backsplash.
Free site inspections •
We’ll beat any verified quote •
Why choose us
📚 Official resources & standards referenced:
- SANS 10400 – Kitchen tiling standards and building regulations for South Africa.
- SABS – South African Bureau of Standards for tile quality, slip resistance, and material specifications.
Information provided for general guidance. Always consult a professional for your specific kitchen tiling project.
Written by: Innocent T Hanyani
Construction & Home Services Industry Specialist | 21+ Years Experience
Innocent T Hanyani has over two decades of experience working across South Africa’s construction, maintenance, and home services sectors. Throughout his career, he has worked closely with tilers, contractors, and homeowners, gaining practical insight into how tiling projects are quoted, installed, and maintained. His expertise helps homeowners understand material choices, installation techniques, and how to find reliable tiling professionals for everything from simple backsplashes to full kitchen renovations.
For more information about kitchen tiling, explore our related resources: best tiles for kitchens and bathrooms, subway tile installation guide, glass tiles guide, and tile cleaning methods. Learn about our process on what is ServiceLink SA and read ServiceLink SA reviews. Find tilers in your area: Western Cape, Cape Town, Stellenbosch, and Paarl.